The core steps of the inlet and outlet water connection of the rotary joint
18Flexible pipes (such as metal hoses) must be used to connect the inlet and outlet, and it is prohibited Rigid...
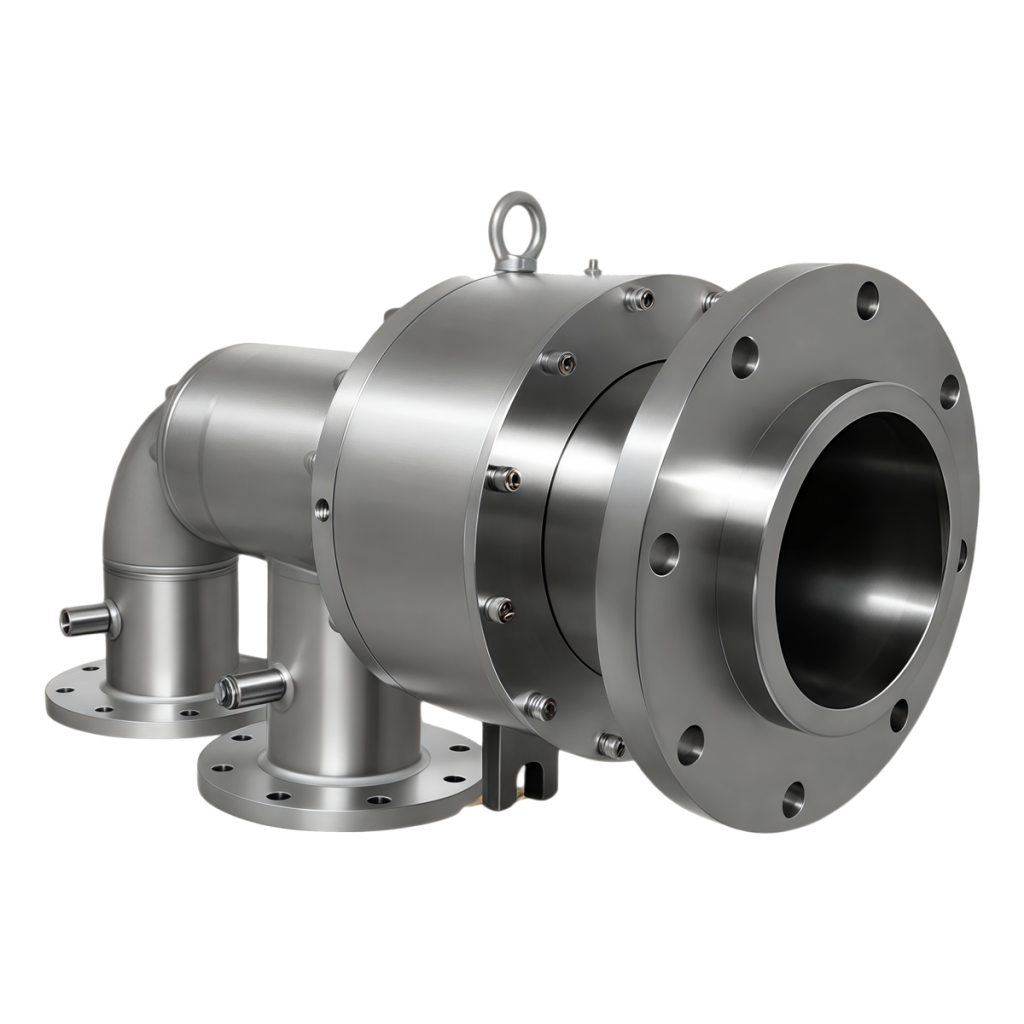
View detailsSearch the whole station
System pressure relief and disassembly
Firstly, ensure that the equipment has stopped running and completely released the fluid pressure (water, oil, or gas) inside the joint.
Disconnect the connector from the equipment and remove it from the spindle or pipeline. If the joint is equipped with a flange or threaded connection, use a suitable tool to loosen the fastener.
Disassemble the connector
Place the connector on a clean and soft workbench (to avoid scratching the surface).
Remove the fixing bolts or snap rings from the casing. Pay attention to the disassembly sequence for subsequent assembly.
Carefully separate the casing from the rotating component. If the fit is tight, a copper rod or plastic hammer can be used to gently tap and assist in separation. It is strictly prohibited to directly tap metal parts with an iron hammer.
Remove the old O-ring
Find the position of the O-ring that needs to be replaced (usually located in the groove of the housing or the sealing groove of the rotor).
Carefully remove the old O-ring from the groove using non-metallic tools such as plastic pry bars or specialized O-ring extractors.
Attention: Be careful during operation and never scratch the metal surface of the groove. Even small scratches can cause leakage after installing a new O-ring.
Cleaning and Inspection
Cleaning the groove: Use a lint free cloth and compatible solvent (such as alcohol) to thoroughly clean the O-ring groove, ensuring that there are no old sealant, oil stains, or impurities remaining.
Check the groove: Carefully inspect the inner wall of the groove for wear, corrosion, or scratches. If the groove is severely damaged, the entire shell may need to be replaced or professionally repaired.
Check the swivel/mating surface: Check if the mating surface in contact with the O-ring is smooth and free of burrs.
Install a new O-ring
Choose the correct model: Ensure that the material (such as nitrile rubber NBR for oil, EPDM for hot water/steam, FKM for high temperature) and size (inner diameter, wire diameter) of the new O-ring are completely consistent with the original factory specifications.
Lubrication: Apply a thin layer of compatible grease (such as silicone grease or equipment operating medium oil) on the surface and groove of the new O-ring. Lubrication can prevent twisting or cutting during installation and extend the lifespan of O-rings.
Installation: Gently insert the lubricated O-ring into the groove. Ensure that the O-ring is not twisted (in the shape of an “8”) and fully seated at the bottom of the groove.
Reassembly and testing
Align the rotating component with the outer shell and carefully close it together.
Tighten the fixing bolts symmetrically according to the prescribed torque (if it is a flange connection).
Reinstall the connector onto the device.
Trial operation: First, slowly increase the pressure and observe for any leaks. After confirming that there is no leakage, put it back into normal operation.

Flexible pipes (such as metal hoses) must be used to connect the inlet and outlet, and it is prohibited Rigid...
View details
Application scenarios of rotary joints: cold rolling mills, hot rolling mills, hot rolling mills, steel mills, etc. printing industry
View details
The purpose of the seal in the rotary joint is to seal the connection and allow one of the two...
View details
One reason for steam rotary joint leakage is the spring and column ring.
View details