1101-202-651 rotary joints
271101-202-651 belongs to the 1101 series single channel closed sealed rotary joint, which is dedicated to the cooling liquid/MQL transportation...
View details rotary joints
Search the whole station
Do you know the methods for disassembling and installing rotary joints? The disassembly and assembly of many things is not simple, and rotary joints are also one of them. Today, I will talk about the disassembly and assembly method of rotary joints: When installing the rotary joint, it is necessary to face downwards, install the spring below, use hydraulic pressure to support the spring and put on the sleeve. If there is no hydraulic equipment, you can use a stick of similar size to press the spring to the position of the water inlet. Insert a longer iron bar into the water inlet to reduce the chance of the spring popping out and injuring people. After compressing the spring, place the copper pad, flat pad, O-ring, tapered graphite, and hollow bearing sleeve in sequence, and then the rotary joint is installed.
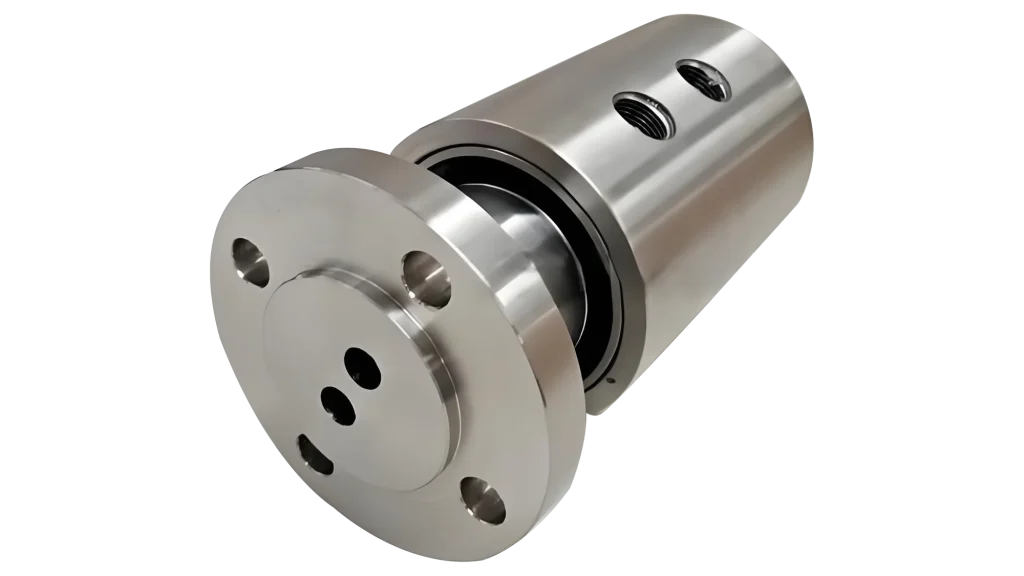
After we disassemble and clean the impurities inside the rotary joint, some friends may be confused and don’t know how to install it. The fixed bearing of the rotary joint is located below the hollow shaft and has a semi-circular sleeve. It can be removed with pliers and the hollow shaft can be held down by hand to reduce the risk of injury caused by spring ejection; After removing the bearing, there is a conical graphite seal underneath, which is the main component of the seal. There is a hard film on the surface of the graphite ring that looks like glass. Be careful to remove it and place it on clean paper, so as not to scratch the graphite surface. Otherwise, even small scratches can cause joint leakage; After removing the graphite, the following are in sequence: O-ring, flat pad, copper pad, and spring. That’s it. Customers and friends need to know that improper operation or scratches or dust on graphite seals during installation or disassembly can cause leakage during installation.
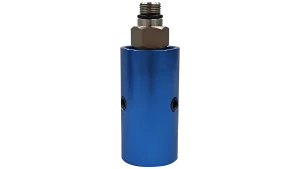
1101-202-651 belongs to the 1101 series single channel closed sealed rotary joint, which is dedicated to the cooling liquid/MQL transportation...
View details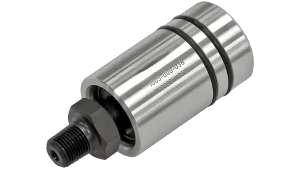
1005-000-037 rotary joint is a single channel self-supporting pneumatic/hydraulic rotary joint designed for medium transmission of air or low viscosity...
View details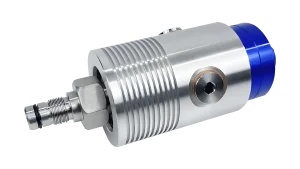
962-800 is a single channel pneumatic/coolant rotary joint, characterized by the use of Pop Off technology ® Disconnect sealing technology,...
View details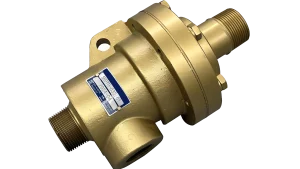
In the packaging and printing industry, rotary joints play a crucial role in connection and transmission. It can smoothly input...
View details